Greetings from the world of Customisation. In today’s world you don’t have to be a passive consumer and buy off the shelf products from the market. With the technology change, you can create your own custom made product specifically designed by you and for you.
You can have a product that is only 1 in the world and you are using it. Sound’s unrealistic, well it isn’t.
You don’t need to find very huge manufacturing company to get this work done, just go to designifying.com, share your design & the next day you will have your custom made product ready.
Well it’s that easy.
The skills you’ll learn and feeling you’ll get by going end-to-end in making something that never existed before is like no other.
Well it’s all possible with the invention of 3D printing i.e. additive manufacturing technology.
Additive manufacturing(3D Printing) is the process of making things layer by layer, by only feeding your design and raw material, without the need of heavy tooling like dies, moulds etc. You have your custom made product ready within hours instead of weeks or months as in conventional manufacturing.
Now back to the topic : 3D Printing your company/organisation’s logo
It’s great to have your company’s or school’s or team’s logo on laptops, bags or sweatshirts. But have you ever wanted to have your logo as keyring, Christmas ornaments, trophies, coasters, pen stand or anything you can imagine. In this blog, we will explain you the process of making your custom 3d printed logo that will help you market your company and makes your team connected and concentrated to the vision of the company.
Let’s get started.
Step 1: 3D Model
For 3d printing your logo, you will need a 3D Logo. Most logos are generated from graphic designing software keeping 2d printing mediums in mind like packaging boxes, business cards and letterheads etc. They are never designed keeping 3d printability in mind.
In normal 2d designing, you have only length and width of your logo, not the third dimension i.e. height or depth.
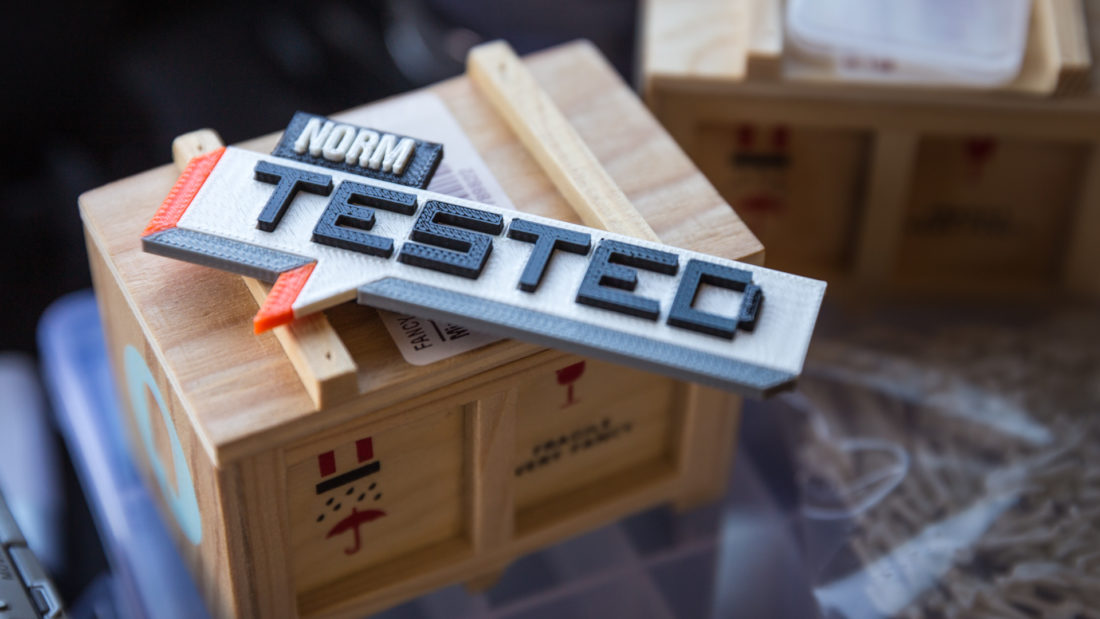
If your logo is simple text, as shown in the image, then it is really easy to make it in 3D by simply extruding the text (the steps will be explained later).
But if your logo have symbols or images or intricate features then you will need some professional help.
The first thing you can do is to contact your graphic designer and explain them the need for 3d printing. They are generally aware about the technology and will happily modify the design for 3d printing purpose in very less time.
If you don’t have any graphic designer with you or your designer don’t know the steps for 3d designing, follow these applications or steps for the same.
When you attempt to turn your logo into a 3D printable design, the first step is to clean up the image and simplify it.
Keep these things in mind
- Remove any background colour or texture.
- Crop the logo.
- Remove very small details or features.
- Use JPEG, SVG or PNG format (Recommended).
Try using these softwares/websites for conversion
A) SELVA3D
Selva 3d is an online website that transforms 2D images into 3D Printable models. The website is free to use and really efficient into conversion. For downloading a standard version of your 3D model, it is free whereas High quality model is chargeable.
Steps:
- Go to http://selva3d.com/
- Sign Up for free.
- Upload your 2D Logo Image.
- Set Threshold and Height of the model.
- Once finished, Download the Standard STL file for free.
Your 3D Logo Design will be saved in downloads folder, generally.
B) TINKERCAD
The other common online program used to convert a 2D logo into a 3D model Design is Tinkercad. This program is completely free, and you gain access to all of its features with your account.
The process of making a 3D model in Tinkercad can be easy or difficult, depending on your logo.
To begin, you must convert your logo to an SVG file. This can be done by using online programs that are free and easy to use.
Steps:
- Import your 2D logo image in SVG format into Tinkercad.
- Once imported, the program will automatically gives the height to the logo.
- Scale the logo to get the dimensions you require for 3D printing.
- Tweak the design a bit to get the features you require. Like a hole for keychain etc.
- Export the design in STL format.
C) 3D SLASH
3D Slash is another powerful tool for creating a 3D model. Unlike Selva3D, this program does not converts 2D Images into 3D Model whereas in this program you have to make your 3D Model.
This program uses the subtractive method for conversion i.e. you start with a cube and keep on removing material from the cube until you get the desired shape. Think it just like a CNC machining process or a sculpture process where you remove the material to get the shape.
Steps:
- Free register to the 3D Slash website program.
- Create a cube and adjust the size according to your requirement.
- Use the tool Drill to remove the material outside of your build area.
- Then use the project tool to upload your logo onto the block.
- Use the chisel and drill tools to remove the material from around your logo, leaving only the parts you want in printing.
- Export the model into STL format.
STEP 2: Sending the Design File to 3D Prototyping companies like Designifying or 3D Printing at your own 3D Printer.
This is the final and important step for the quality product. You can either choose your own Desktop 3D printer for 3D Printing the 3D Model of your logo or you can send your design to professional 3D Printing service providers like DESIGNIFYING for professional quality prints.
Please take care about the logo colours as well as finish required for 3D printing. Always recommended to share the actual 2D image of the model for reference purpose.
We know, that you will be very excited to try out these programs and want to impress your colleagues with your amazing skill but these tools mentioned above are free tools and might not be able to convert all your logos to 3D models. So for professional looking 3D Logo it is always recommended to share your 2D logo to us and we will design your 3D Logo and print it.
We have a team of professional designers as well as you can choose from 40+ 3D printing materials for printing.